NSWindow Style Showcase
Written by Luka Kerr on March 31, 2018
A showcase of many of the different styles of windows possible with NSWindow on MacOS. In some examples, NSToolbar, and NSVisualEffectView are used. No private API’s are used.
All code is assumed to be put in a window controller such as WindowController.swift, in the windowDidLoad function. You should just be able to place each block inside that function to get the exact same result.
1. Hide title
Don’t show the title text in the titlebar.

window?.titleVisibility = .hidden
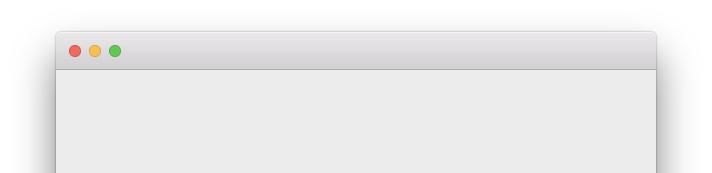
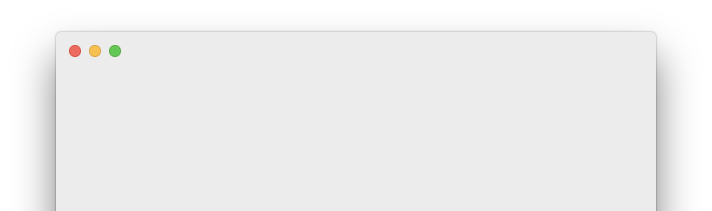
2. Hide titlebar
Hide the titlebar completely.
window?.styleMask.remove(.titled)
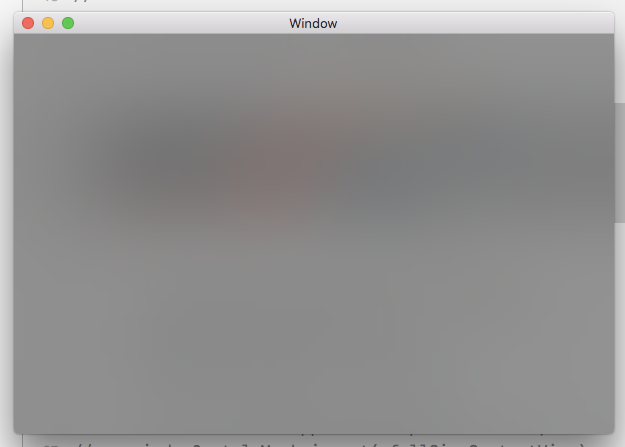
3. Vibrant background
Create a vibrant background where whatever is behind the window can be slightly seen. This uses NSVisualEffectView.
let visualEffect = NSVisualEffectView()
visualEffect.blendingMode = .behindWindow
visualEffect.state = .active
visualEffect.material = .dark
window?.contentView = visualEffect
visualEffect.material can take multiple values including:
.appearanceBased: based on the views appearance.dark: dark appearance.ultraDark: ultra dark appearance.light: light appearance.mediumLight: medium light appearance- others such as
.menu,.popover,.selection,.sidebarand.titlebar
4. Vibrant background with transparent titlebar
Same as above, with a transparent titlebar.
let visualEffect = NSVisualEffectView()
visualEffect.blendingMode = .behindWindow
visualEffect.state = .active
visualEffect.material = .dark
window?.contentView = visualEffect

window?.titlebarAppearsTransparent = true
window?.styleMask.insert(.fullSizeContentView)
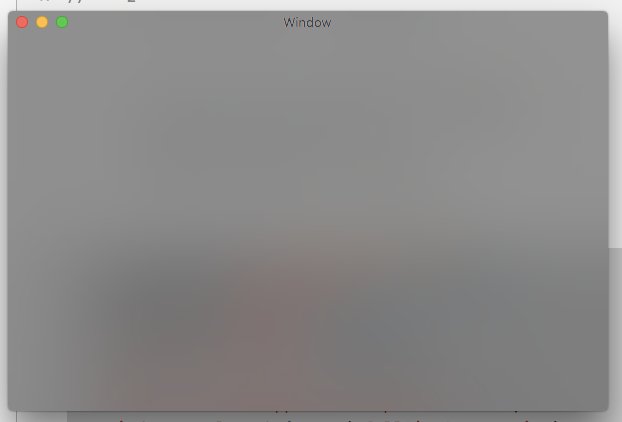
5. Vibrant background without titlebar
Same as above, without the titlebar.
let visualEffect = NSVisualEffectView()
visualEffect.blendingMode = .behindWindow
visualEffect.state = .active
visualEffect.material = .dark
window?.contentView = visualEffect

window?.styleMask.remove(.titled)
window?.isMovableByWindowBackground = true
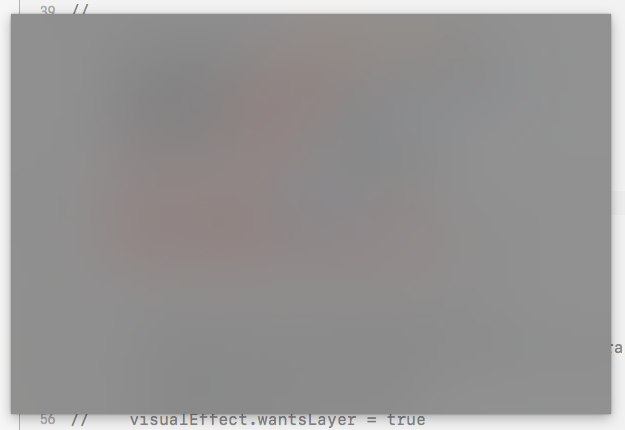
6. Vibrant background with border radius and no titlebar
A vibrant window with a custom border radius. The border radius value can be changed at visualEffect.layer?.cornerRadius = 16.0.
let visualEffect = NSVisualEffectView()
visualEffect.translatesAutoresizingMaskIntoConstraints = false
visualEffect.material = .dark
visualEffect.state = .active
visualEffect.wantsLayer = true
visualEffect.layer?.cornerRadius = 16.0

window?.titleVisibility = .hidden
window?.styleMask.remove(.titled)
window?.backgroundColor = .clear
window?.isMovableByWindowBackground = true

window?.contentView?.addSubview(visualEffect)

guard let constraints = window?.contentView else {
  return
}

visualEffect.leadingAnchor.constraint(equalTo: constraints.leadingAnchor).isActive = true
visualEffect.trailingAnchor.constraint(equalTo: constraints.trailingAnchor).isActive = true
visualEffect.topAnchor.constraint(equalTo: constraints.topAnchor).isActive = true
visualEffect.bottomAnchor.constraint(equalTo: constraints.bottomAnchor).isActive = true
7. Transparent titlebar
A window with a transparent titlebar.
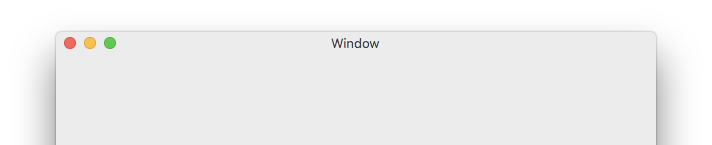
window?.titlebarAppearsTransparent = true
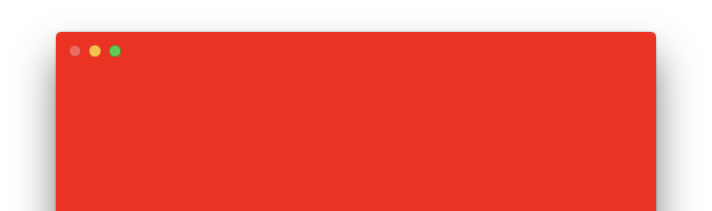
8. Transparent titlebar with background color
Same as above with a background color.
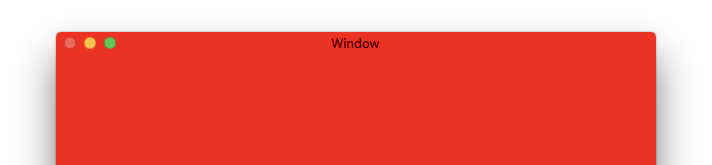
window?.titlebarAppearsTransparent = true
window?.backgroundColor = .red
9. Toolbar
A window with a toolbar.
let customToolbar = NSToolbar()
window?.titleVisibility = .hidden
window?.toolbar = customToolbar
10. Transparent toolbar
Same as above, with the toolbar transparent.

let customToolbar = NSToolbar()
window?.titlebarAppearsTransparent = true
window?.titleVisibility = .hidden
window?.toolbar = customToolbar
11. Transparent toolbar without seperator
Same as above, without the toolbar seperator.
let customToolbar = NSToolbar()
customToolbar.showsBaselineSeparator = false
window?.titlebarAppearsTransparent = true
window?.titleVisibility = .hidden
window?.toolbar = customToolbar
12. Transparent toolbar with background color and without seperator
Same as above, with a background color.
let customToolbar = NSToolbar()
customToolbar.showsBaselineSeparator = false
window?.titlebarAppearsTransparent = true
window?.titleVisibility = .hidden
window?.backgroundColor = .red
window?.toolbar = customToolbar
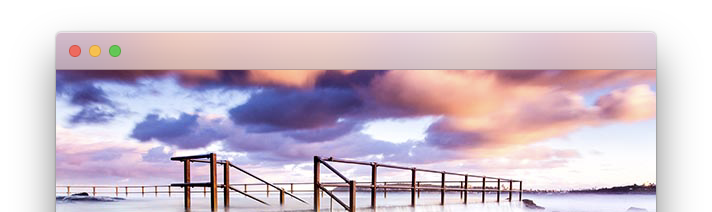
13. Translucent toolbar
A translucent toolbar allowing for content behind the toolbar to be slightly seen.
let customToolbar = NSToolbar()
window?.titleVisibility = .hidden
window?.styleMask.insert(.fullSizeContentView)
window?.contentView?.wantsLayer = true
window?.contentView?.layer?.contents = NSImage(named: NSImage.Name("Background"))
window?.toolbar = customToolbar
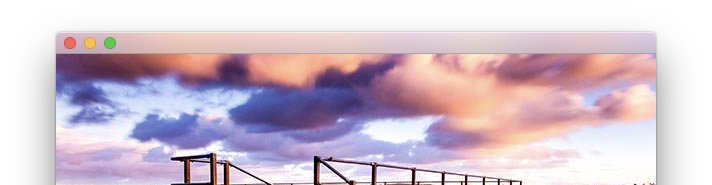
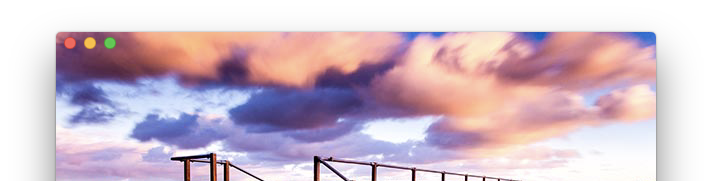
14. Translucent titlebar
Same as above with a titlebar instead of a toolbar.
window?.titleVisibility = .hidden
window?.styleMask.insert(.fullSizeContentView)
window?.contentView?.wantsLayer = true
window?.contentView?.layer?.contents = NSImage(named: NSImage.Name("Background"))
15. Transparent titlebar without title
Same as above with a transparent titlebar.
window?.titleVisibility = .hidden
window?.styleMask.insert(.fullSizeContentView)
window?.titlebarAppearsTransparent = true
window?.contentView?.wantsLayer = true
window?.contentView?.layer?.contents = NSImage(named: NSImage.Name("Background"))
16. macOS Mojave dark mode
The macOS Mojave dark mode appearance.
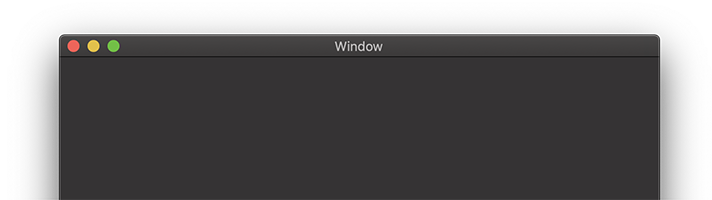
if #available(OSX 10.14, *) {
  window?.appearance = NSAppearance(named: .darkAqua)
}